 |
 |
 |
 |
 |
 |
 |
 |
 |
 | 
| |||||||||||||||
|
Using the Reverse Video effect in conjunction with the Peel effect it's possible to produce a transition that unpeels one video over another. This tutorial requires the Reverse Video and Peel & Roll plugins to be installed; they are available from our downloads section.
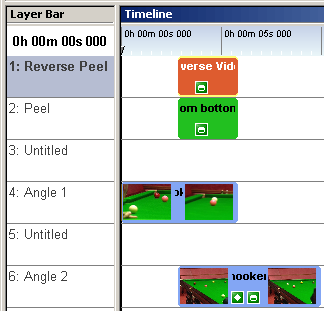
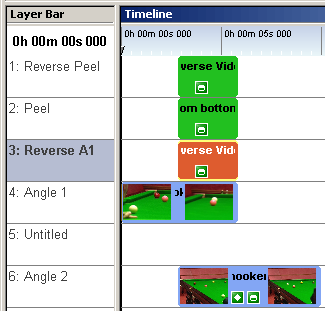
This transition requires six layers, so to start with we need to add an extra layer. We do this be selecting Edit > Insert > Layer and clicking 'OK'. We start by inserting two video or bitmap items into the timeline by selecting Edit > Insert > Media File and choosing the files from the disk. We place each on it's own layer, layers 4 and 6, ensuring they overlap. 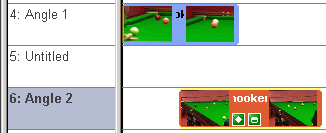
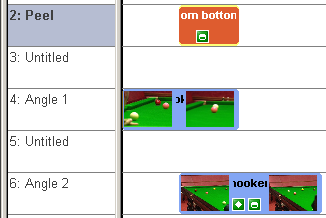
Next, add a 'Peel from bottom right' transition to layer 2 above the overlap by dragging the transition from the Media Explorer. 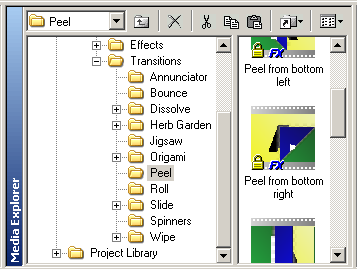
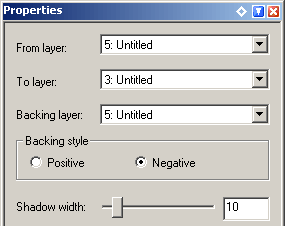
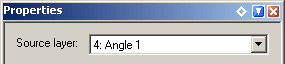
As you do this it should automatically adjust to the correct duration. If not, adjust the start and end times to match the other layers. Ensure that the properties point to the layers above the two videos.
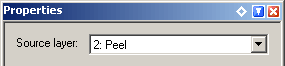
At this point we have a working transition, but we want to reverse the direction of the Peel To do this, add a 'Reverse Video' effect to layer 1 above the Peel transition by dragging it from the Media Explorer. 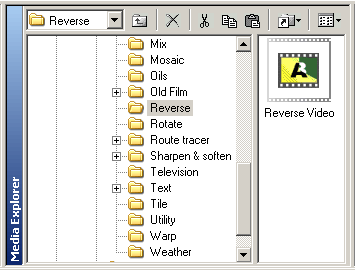
Adjust the start the start and end times to match the Peel transition and select ensure that the source video points to layer 2.
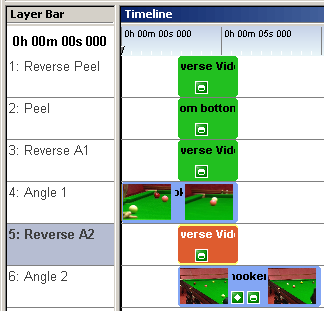
If we preview our video now, we've got the scene unpeeling - but there's a problem. For the duration of the transition, the two videos are now moving in reverse. That's not what we want, so to correct this we add a further two Reverse Video effects. Add one copy to layer 3 with the source set to layer 4.
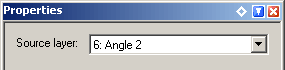
Add a further copy to layer 5 with the source set to layer 6.
See the final transition below. | ||||||||||||||||