 |
 |
 |
 |
 |
 |
 |
 |
 |
 | 
| |||||||||||||||||||||
|
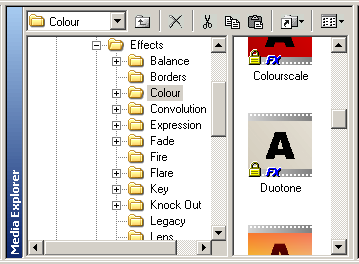
Using the Rotate3D and Duotone effects it's possible to reproduce the end title sequence from the popular Aussie soap Neighbours. We show you how to use these flexible effects to create an ending to your video that's just that little bit different. This tutorial requires the Rotate3D and Duotone plugins to be installed; they are available from our downloads section.
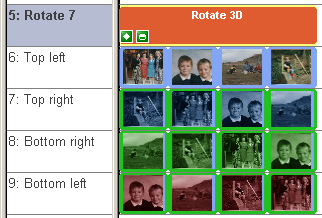
This effect requires six layers, so to start with we need to add an extra layer. We do this be selecting Edit > Insert > Layer and clicking 'OK'. We start by inserting our four bitmap items into the timeline by selecting Edit > Insert > Media File and choosing the file from the disk, placing them on layers 6 - 9 (you'll need to add extra layers with Edit > Insert > Layer before you start). The bitmaps should be prepared in advance so that they are in the correct proportions. In the original, this is done automatically as they are single frames from that episode. Adjust the duration of each to about 2.5 seconds. 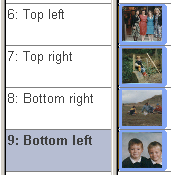
Use Edit > Copy and Edit > Paste to duplicate your bitmaps, moving them down one layer each time. 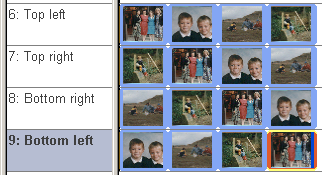
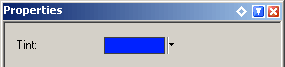
Add a Duotone effect as a topping to each item on layer 7, setting the tint to the same shade of blue.
Add a Duotone effect as a topping to each item on layer 8, setting the tint to the same shade of green. 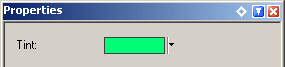
Add a Duotone effect as a topping to each item on layer 9, setting the tint to the same shade of red. 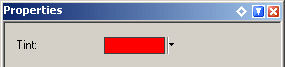
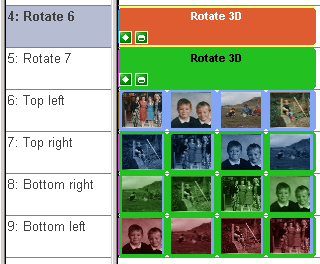
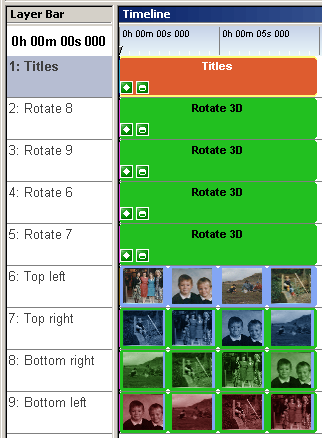
Your timeline should now look like this: 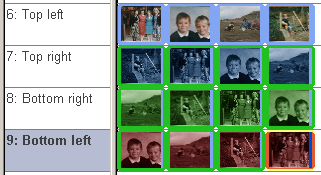
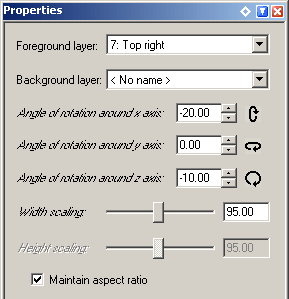
Next, add a Rotate3D effect to layer 5 by dragging the effect from the Media Explorer. 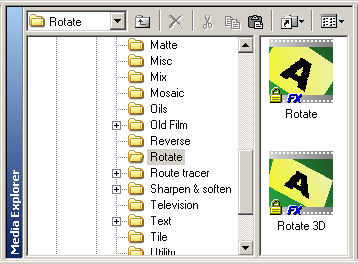
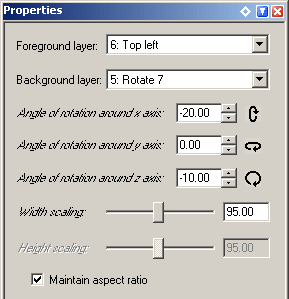
Adjust the duration to cover the entire sequence and set the properties as follows:
Select 'Placement' from the drop down listbox in the preview window and adjust the left and top values of the center point as follows: 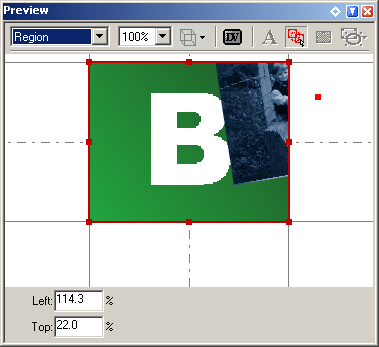
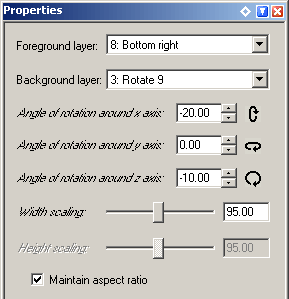
Next, add a Rotate3D effect to layer 4, adjust the duration to cover the entire sequence and set the properties as follows:
Select 'Placement' from the drop down listbox in the preview window and adjust the left and top values of the center point as follows: 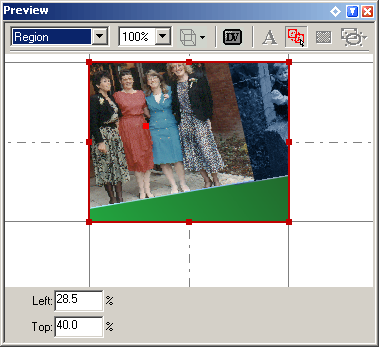
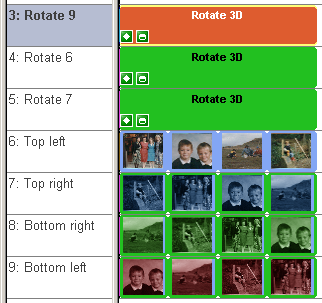
Next, add a Rotate3D effect to layer 3, adjust the duration to cover the entire sequence and set the properties as follows:
Select 'Placement' from the drop down listbox in the preview window and adjust the left and top values of the center point as follows: 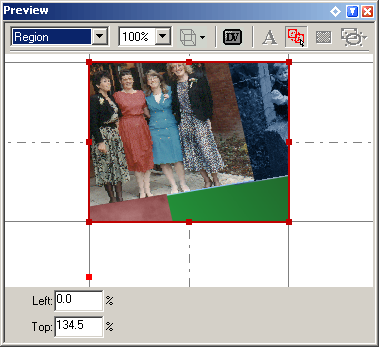
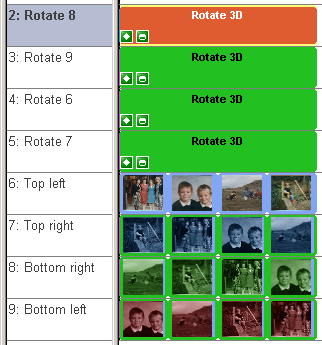
Next, add a Rotate3D effect to layer 2, adjust the duration to cover the entire sequence and set the properties as follows:
Select 'Placement' from the drop down listbox in the preview window and adjust the left and top values of the center point as follows: 
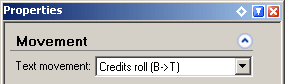
Next, add a Titles effect to layer 1 by dragging the effect from the Media Explorer. 
Adjust the duration to cover the entire sequence and set the properties as follows:
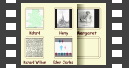
Edit the text as required, changing the text colour to white and point size to 8. See the final sequence below. Neighbours is copywrite of Grundy Television Pty. Limited. All rights acknowledged. | ||||||||||||||||||||||