 |
 |
 |
 |
 |
 |
 |
 |
 |
 | 
| ||||||||||||
|
Using the Spinners transition it's possible to change part of the frame from one source to another without affecting the rest of the frame. We show you how to use this flexible transition to create a changing portrait for a form guide or biography. This tutorial requires the Spinners plugin to be installed; this is available from our downloads section. As an alternative, you can substitute any Rosa Negra transition for the Spinners transition for different effects.
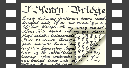
This project requires six layers, so to start with we need to add an extra layer. We do this be selecting Edit > Insert > Layer and clicking 'OK'. We start by inserting our background bitmap into the timeline by selecting Edit > Insert > Media File and choosing the file from the disk, placing it on layer 6. Adjust the duration to 8 seconds. 
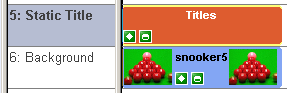
Add a Titles effect to layer 5, adjusting the duration to 8 seconds.
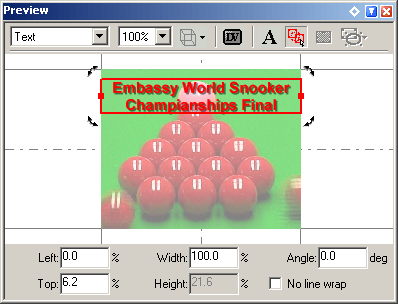
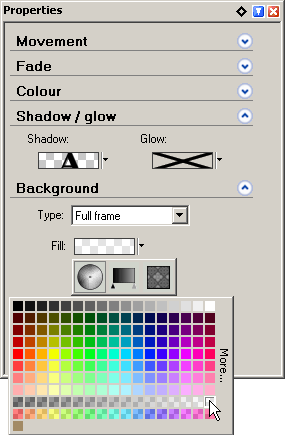
Edit the text and adjust the placement towards the top of the frame. Here we've given the text a drop shadow and a semi-transparent white background. This has the effect of 'bleaching' the background image so the foreground will stand out better.
Next, add two Titles effects to layer 4, adjusting the duration of each to 4 seconds. 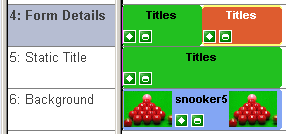
Edit the text of each to give the details of each person. Adjust the size and position to one side. Ensure the position is the same for both. 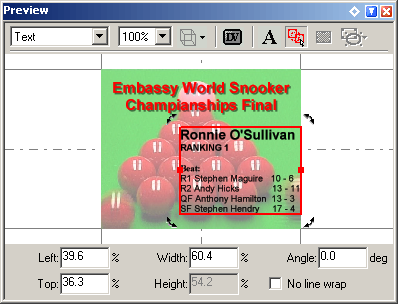
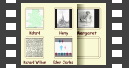
Now insert two bitmap items into the timeline by selecting Edit > Insert > Media File and choosing the files from the disk. We place each on it's own layer, layers 2 and 3, ensuring they overlap. The bitmaps should be prepared in advance so that they are of the same proportions. 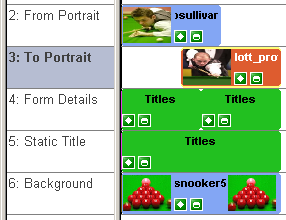
Adjust the sizes and positions to one side. Ensure the size and position is the same for both. 
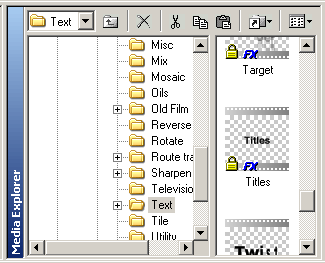
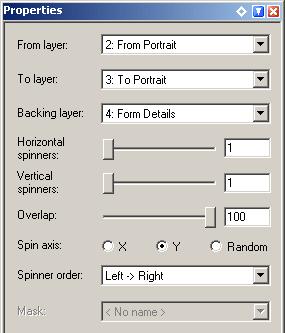
Next, add a Spinners transition to the layer above the overlap by dragging the transition from the Media Explorer. 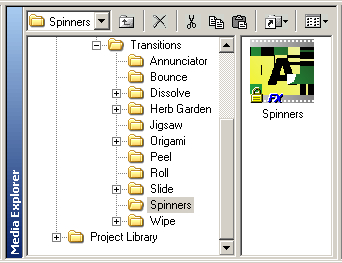
As you do this it should automatically adjust to the correct duration. If not, adjust the start and end times to match the other layers. Ensure that the properties point to the two videos.
Adjust the size and position to match the size and position of the two bitmaps on layers 2 & 3. 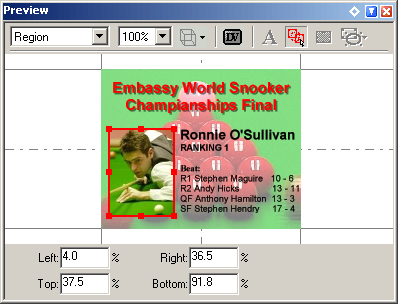
See the final transition below. | |||||||||||||